 Add Row
  Add
Add 


Mastering the Craft: Building a Flush Interior Door
Constructing a flush interior door may seem like a daunting task for many DIY enthusiasts, but with the right guidance and tools, it can become a fulfilling project that adds both function and aesthetic value to a home. Carpenter Casey Knips shares his expertise to make this process approachable for anyone looking to improve their handy skills.
Essential Materials and Tools
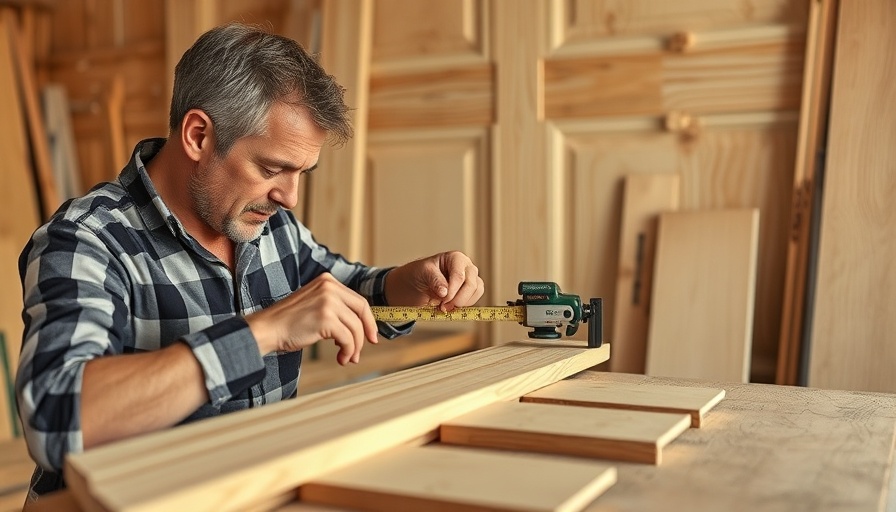
Before delving into the construction, it's critical to gather the necessary materials and tools. A standard flush interior door typically requires plywood, wood glue, and a sturdy frame, but options vary based on individual design preferences. Tools like measuring tape, a circular saw, and a level are indispensable for achieving precise measurements and cuts.
Step-by-Step Instructions for Success
Step one involves measuring the doorway accurately. Knips emphasizes the importance of taking precise measurements to ensure a snug fit. Next, cut the plywood to size and begin assembling the frame. It's beneficial to use wood glue to bond pieces together securely.
Finally, once you've sanded the door for a smooth finish, consider applying a coat of paint or stain to enhance its appearance. This not only elevates its look but also provides an additional layer of protection.
Why Customization Matters
Building your own door allows for significant customization—be it in design, color, or type of wood used. This personalization transforms a simple home feature into a reflection of your style, enhancing your home's overall decor.
Building Skills for Future Projects
Taking on a project like this not only enhances your living space but also equips you with valuable skills. Such carpentry projects pave the way for more ambitious home improvement endeavors, ultimately boosting your confidence as a DIYer.


Write A Comment